Cookie Glaze
This post may contain affiliate links. As an Amazon Associate I earn from qualifying purchases. For more information, please visit my disclosure page.
We all love options, right? Some options are super simple and some not so much. This Cookie Glaze falls into the super simple category, because sometimes you just want to get through all of the cookie baking and start the cookie eating!! I could have gone with Sugar Cookie Glaze, but I used in on my Gingerbread Cookies last week and loved the results…..
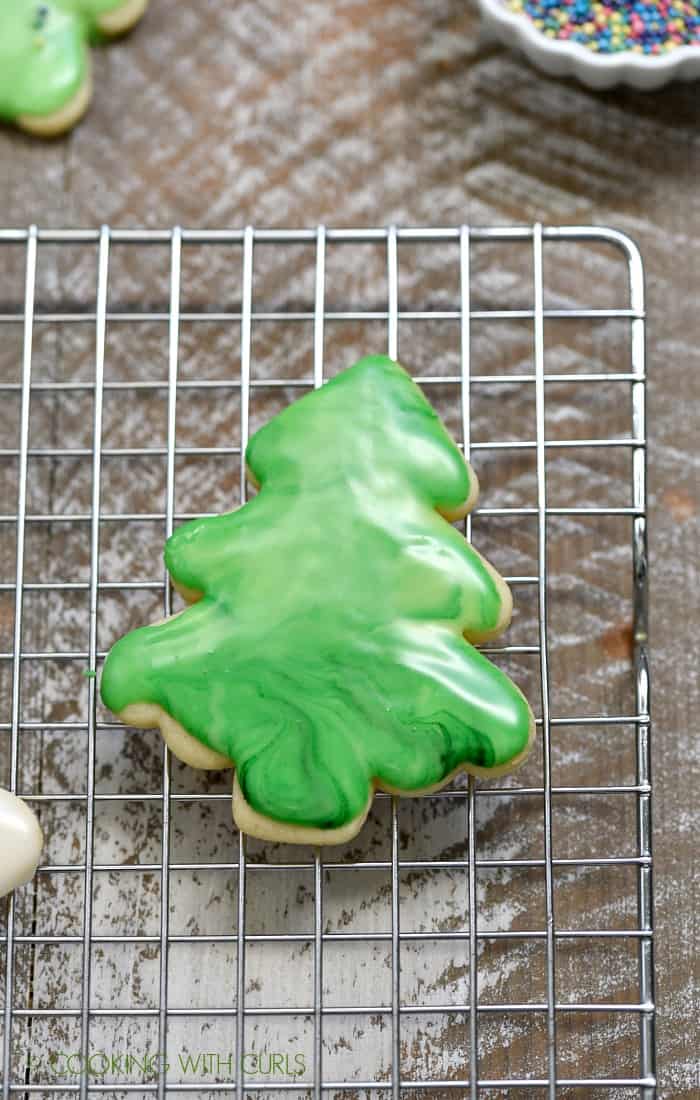
I had a little bit of fun with this Cookie Glaze and created swirly trees…..
but I am getting ahead of myself. 😉
How to make Glaze for Cookies:
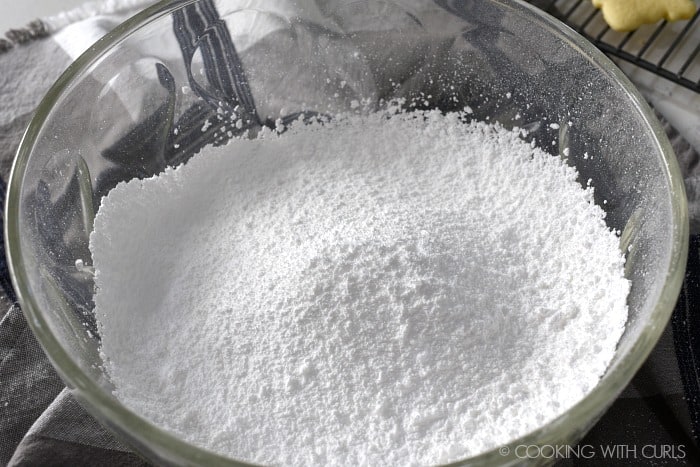
Sift the powdered sugar into a large bowl…..
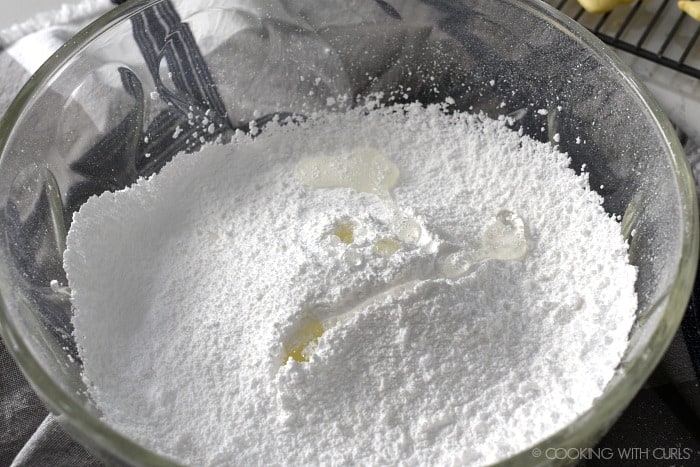
Add the corn syrup and flavoring…..
Stir in the milk, starting with two Tablespoons and gradually add more one teaspoon at a time until you reach your desired consistency.
For thick glaze that can be piped onto the cookies, the glaze should slowly fall from a lifted spoon.
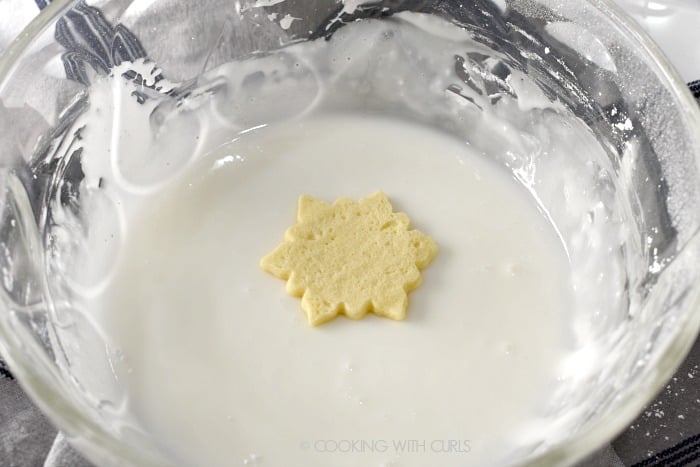
For a glaze that the cookies can be dipped into, it will fall more quickly and in thinner streams. {Sorry, there was no way to get a picture of bright white glaze today}
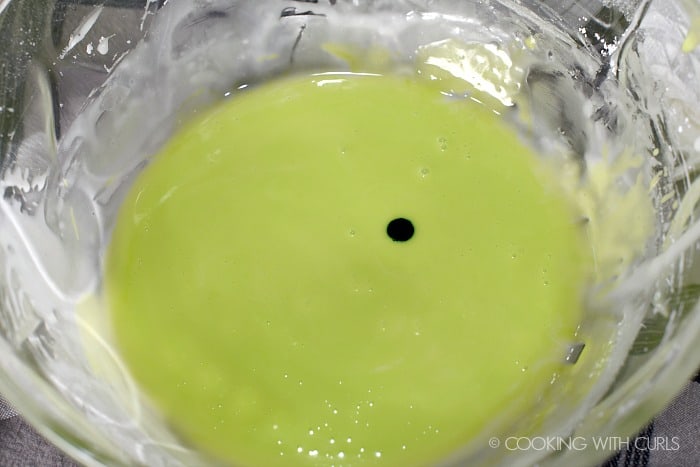
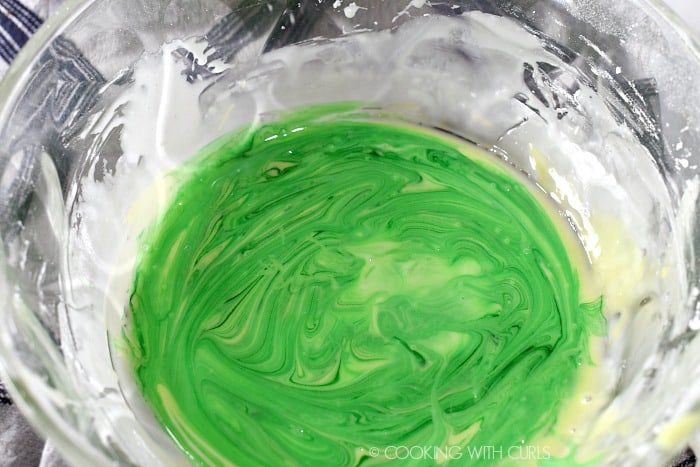
To color the glaze, add a drop of gel food coloring…..
{I finally found Grinch Green!!!!} affiliate links Then I added Leaf Green from this set to create the trees.
Stir to thoroughly combine the color in the glaze.
To create a swirl pattern, drop a darker gel color into the colored glaze and lightly swirl it around…..
Dip each cookie into the glaze, twisting to make sure the entire surface is covered…..
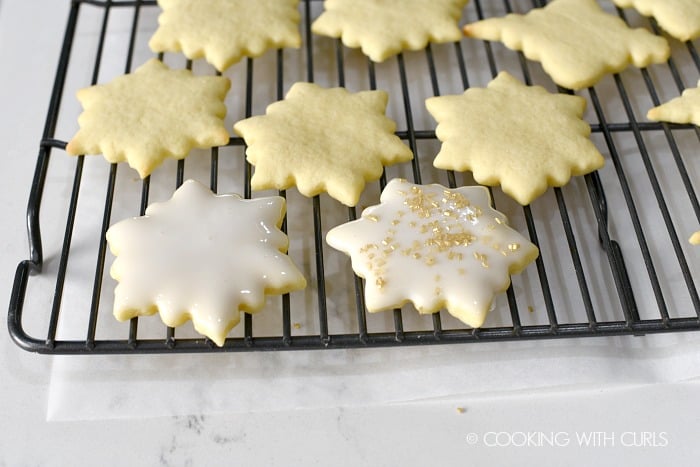
Gently lift the cookie up allowing the excess glaze to drip down. At first it will seem to pour off, them it will taper off to an occasional drip.
Place the cookie on a wire rack over parchment paper or a baking sheet…..
Sprinkle with decorative sugar while the glaze is wet!
If not using decorations, pop any bubbles that arise with a toothpick while the glaze is still wet.
Notes:
- Set glazed cookies aside to harden before moving or stacking, at least 12 hours.
- The more you dip the cookies into the swirl glaze, the more the color will combine.
- If the glaze is too thick, add additional milk. If the glaze is too thin, add more powdered sugar.
- The standard flavors for cookie glaze are vanilla and almond, but orange, mint, and lemon are delicious as well.
- Use a clear extract to keep the glaze color “clean”. Pure vanilla extract will change the color of your glaze.
Why do I have to sift the powdered sugar?
We sift the powdered sugar to remove lumps that would ultimately affect the smoothness of the cookie glaze.
Some additional cookie recipes for you to enjoy:
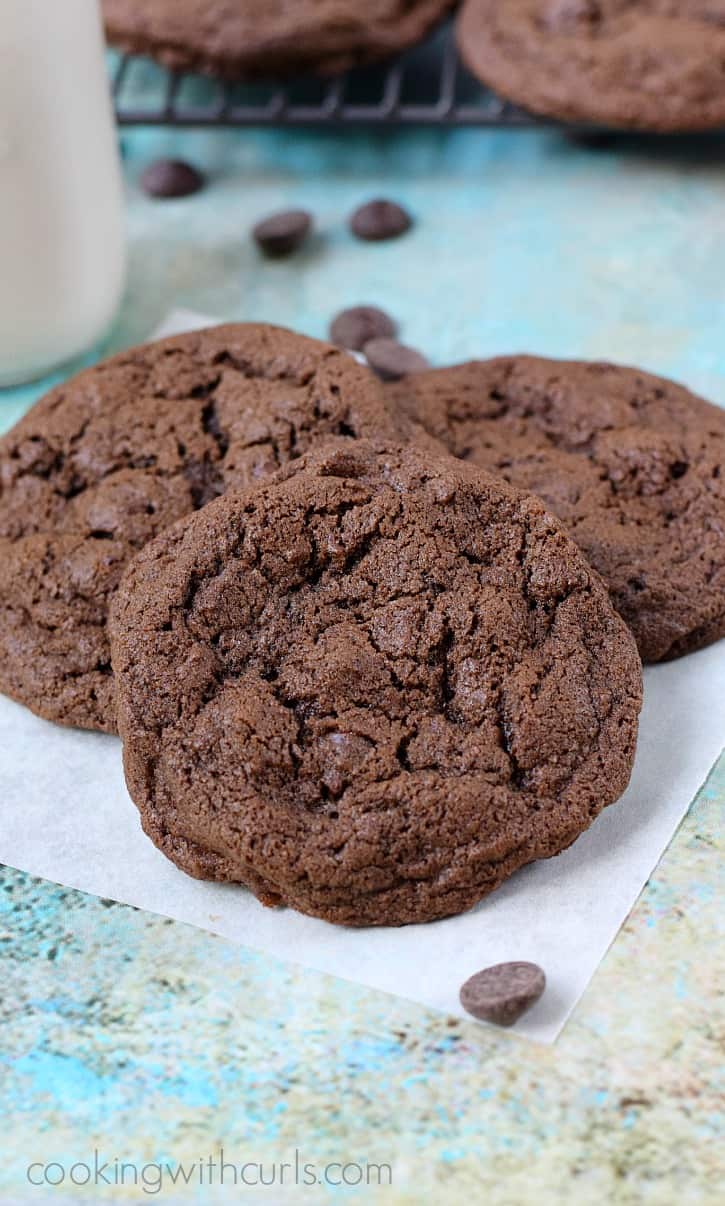
- Chocolate Mocha Cookies – I decorated mine with white chocolate and jimmies, but this glaze would be delicious as well
- Gingerbread Cookies – includes recipe for Royal Icing in case you need one
- Cut-out Sugar Cookies – my absolute favorite!
- Caramel Cream Sandwich Cookies – for something different
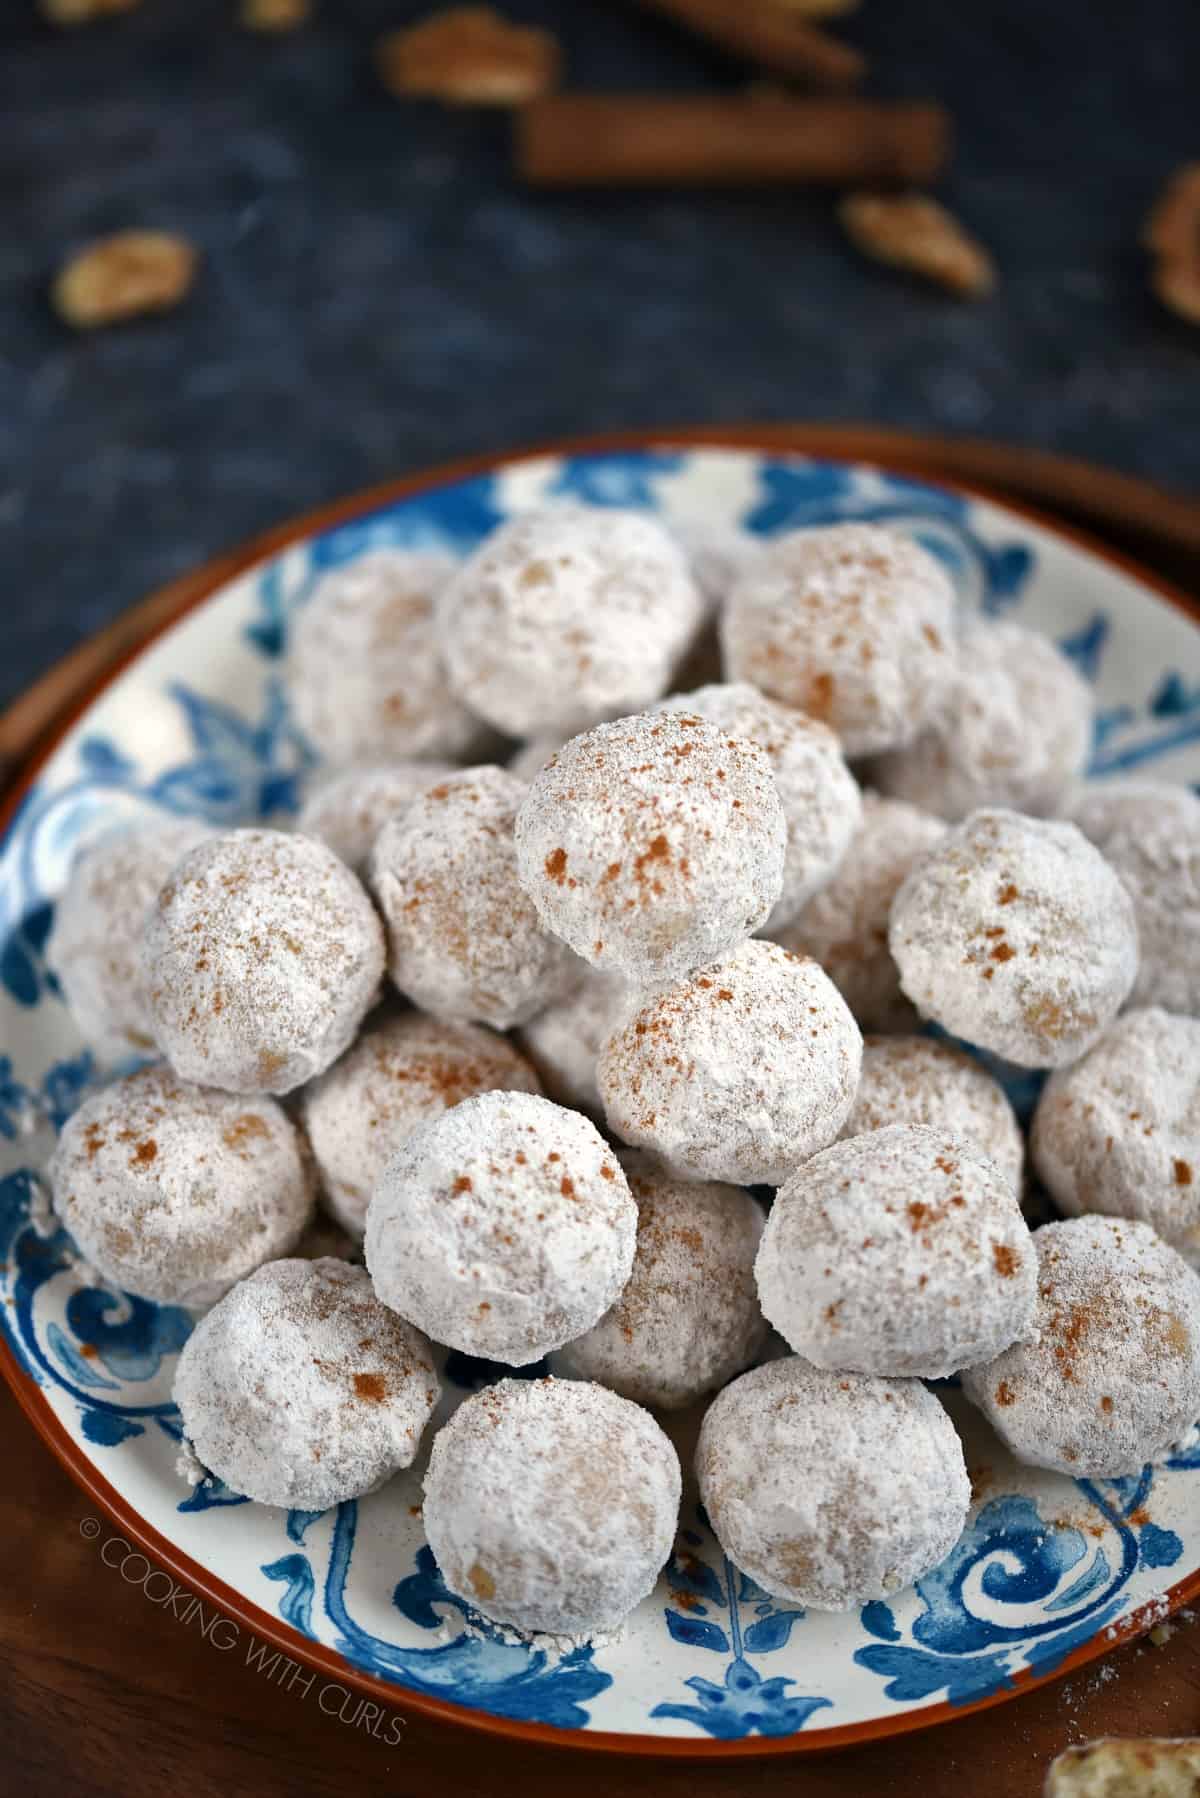
- Pecan Snowballs aka Russian Teacakes
If you have ever wondered why I am not a baking blogger, this post pretty much explains why….I like simplicity! I do not like piping icing, I can never get the lines straight enough, lol. It is much easier to dip the cookies, add some sprinkles and move on to the eating of the cookies! 😉
Enjoy!!

Cookie Glaze
Ingredients
- 2 cups powdered sugar (sifted)
- 1 Tablespoon light corn syrup (or light agave nectar)
- ½ teaspoon almond extract (or orange, clear vanilla, mint, etc)
- 2 Tablespoons milk (add more if needed)
- gel food color (any colors you like)
Instructions
- Sift the powdered sugar into a large bowl.
- Add the corn syrup and flavoring.
- Stir in the milk, starting with two Tablespoons and gradually add more one teaspoon at a time until you reach your desired consistency.
- For thick glaze that can be piped onto the cookies, the glaze should slowly fall from a lifted spoon.For a glaze that the cookies can be dipped into, it will fall more quickly and in thinner streams.
- To color the glaze, add a drop of gel food coloring. Stir to thoroughly combine the color in the glaze.
- To create a swirl pattern, drop a darker gel color into the colored glaze and lightly swirl it around.
- Dip each cookie into the glaze, twisting to make sure the entire surface is covered.
- Gently lift the cookie up allowing the excess glaze to drip down. At first it will seem to pour off, them it will taper off to an occasional drip.
- Place the cookie on a wire rack over parchment paper or a baking sheet. Sprinkle with decorative sugar while the glaze is wet!
- If not using decorations, pop any bubbles that arise with a toothpick while the glaze is still wet.
Notes
- Set glazed cookies aside to harden before moving or stacking, at least 12 hours.
- The more you dip the cookies into the swirl glaze, the more the color will combine.
- If the glaze is too thick, add additional milk. If the glaze is too thin, add more powdered sugar.
- The standard flavors for cookie glaze are vanilla and almond, but orange, mint, and lemon are delicious as well.
- Use a clear extract to keep the glaze color “clean”. Pure vanilla extract will change the color of your glaze.


